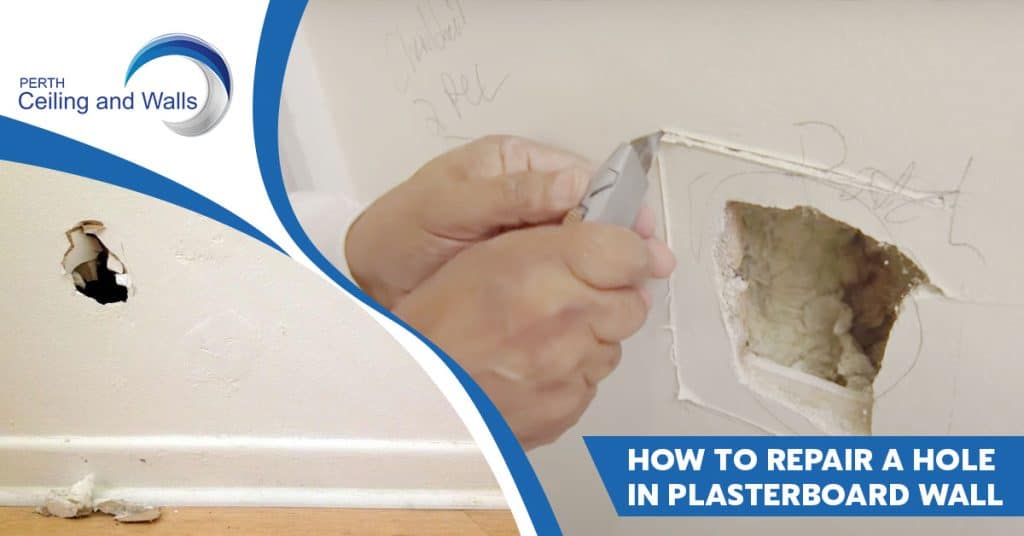
Finding a large hole in your wall can feel like a major problem, but you don’t need to be a professional to fix it. With some simple tools and a bit of patience, you can repair large holes in plaster yourself.
This guide will walk you through the process step by step, so you’ll have your wall looking good as new in no time.
What You’ll Need
To get started, make sure you have the following tools and materials:
- Two short pieces of 1×3 timber (for backing support)
- Scrap piece of plasterboard (sized to fit the hole)
- Plasterboard screws
- Joint compound (or plaster filler for finishing)
- Plasterboard tape
- Sandpaper (preferably a fine grit)
Step 1: Prepare the Hole
If the hole is jagged or irregular, begin by cutting it into a clean square or rectangular shape. This will make it easier to fit a patch.
Use a utility knife or plasterboard saw to carefully trim away rough edges until you have a neat, straight-sided opening.
Step 2: Install Support Timber
To keep your patch sturdy, you’ll need to install backing behind the hole. Slide one piece of 1×3 timber horizontally into the wall cavity, positioning it so it sits just behind the top edge of the hole.
Secure it in place by driving a screw through the wall and into the timber. Do the same with a second piece at the bottom edge of the hole.
This creates a solid support on which to mount your plasterboard patch.
Step 3: Cut and Fit the Plasterboard Patch
Measure the dimensions of your newly cut hole, then cut a piece of plasterboard to match. Be precise to ensure a snug fit.
Once cut, place the plasterboard patch into the hole and screw it to the timber backing. Make sure it sits flush with the wall surface.
Step 4: Apply Joint Compound and Tape the Seams
Now it’s time to smooth out the edges. Spread a thin layer of joint compound (also known as plaster filler) around the patch, covering the seams.
Then, press plasterboard tape over each seam, embedding it in the compound. The tape strengthens the repair and prevents future cracking along the joints.
Using a plasterboard knife, apply a thin coat of compound over the tape, extending slightly beyond the edges to blend with the wall surface. Don’t worry about making it perfect on the first go – you’ll add more layers.
Step 5: Build Up the Compound in Layers
Allow the first layer to dry completely (overnight is usually best). Once dry, sand it lightly to smooth out any ridges or bumps.
Apply additional coats of joint compound, each time feathering the edges out further to blend with the wall. Two to three layers should be enough to create a seamless finish.
Sand each layer lightly after it dries to keep everything smooth.
Step 6: Final Sanding and Finishing Touches
Once your final coat is dry, give it a good sand with fine-grit sandpaper until the patch is completely smooth and level with the surrounding wall. For the best finish, feather out the edges by sanding lightly in a wide radius around the patch.
This will help it blend in with the rest of the wall.
Step 7: Prime and Paint
Before painting, apply a coat of primer to the patched area. Primer helps the paint adhere evenly and stops the patched area from standing out.
Once the primer is dry, paint over it to match the rest of your wall. Depending on the colour, you may need two coats for a flawless look.
Quick Tips for Success
- Clean the Area First
Wipe away any dust or debris around the hole before starting. This will help the compound adhere better. - Feather the Compound
Extending each layer of compound a bit further out from the previous one will make the repair less noticeable. - Prime Before Painting
A primer coat ensures even paint coverage and a professional-looking finish.
When to Consider Self-Adhesive Patches
If you’re renting, self-adhesive patches can be a handy, removable option for temporary repairs. While not as strong as a timber-backed patch, they can still work well for covering smaller areas and are easy to remove when it’s time to move out.
Repairing a large hole in the wall is achievable with a little time, the right materials, and a bit of guidance. For professional help with plaster wall repair, Perth Ceiling and Walls offers services to ensure your wall looks as good as new, with no trace of damage.
Whether it’s from accidental impacts or home improvement work, this DIY approach can save you money and build your confidence in tackling future repairs. For a flawless, professional finish, contact us for wall repair and painting in Perth, and we’ll help restore your wall to its original condition—no one will even know there was a hole!
Reviewed by
Aaron Kumar
Aaron Jefferson Kumar. The owner and operator of Perth Ceiling and Walls. With hands-on expertise in plasterboard ceiling and wall repairs and installations, Aaron takes pride in ensuring every project meets the highest standards of quality and craftsmanship. His direct involvement in both the business and the fieldwork positions him as a trusted person on all things related to ceiling and wall solutions.
