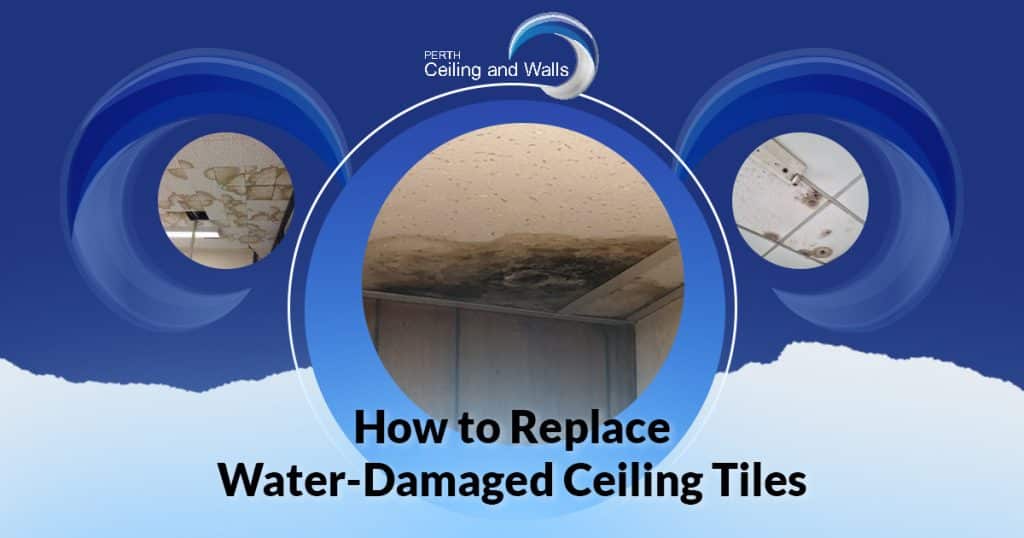
Water-damaged ceiling tiles aren’t just an eyesore—they can lead to mould, structural problems, and even health risks if not dealt with quickly. Whether the damage is due to a leaky roof, burst pipe, or excess condensation, replacing damaged tiles is essential to keep your home safe and looking great.
Here’s a straightforward, step-by-step guide to help you replace water-damaged ceiling tiles effectively.
Step 1: Identify and Fix the Source of the Water Damage
Before you start removing tiles, it’s vital to figure out what caused the damage and stop it. This ensures the problem doesn’t return after you’ve completed the repairs.
- Find the Source
Check for common culprits like roof leaks, burst pipes, or condensation issues. - Repair the Issue
Whether it’s sealing a roof or fixing plumbing, address the problem immediately. For complex issues, consider hiring a professional.
Step 2: Prioritise Safety
Working on your ceiling involves some risks, especially if electrical components are nearby.
- Turn Off Power
Before starting, switch off the electricity in the affected area to avoid electrical hazards. - Assess the Situation
If the damage is severe and the ceiling seems unstable, evacuate the area and call in an expert.
Step 3: Remove the Damaged Ceiling Tiles
Carefully take out the damaged tiles to prepare for replacements.
- Removing Tiles from a Grid
Lift out the affected tiles gently. If they’re glued, use a utility knife to cut around the edges. - Check Insulation
Look behind the tiles for wet or mouldy insulation. Damp insulation should be replaced to prevent further issues.
Step 4: Dry the Area Completely
Drying the area thoroughly is crucial to prevent mould and ensure the new tiles adhere properly.
- Use Dehumidifiers and Fans
These tools can speed up the drying process. - Improve Ventilation
Open windows and doors to allow airflow and help the area dry faster.
Step 5: Measure and Prepare the Replacement Tiles
Now it’s time to get your new tiles ready.
- Measure the Space
Use a tape measure to determine the exact dimensions of the removed tiles. - Cut to Size
If necessary, cut the new tiles so they fit perfectly into the ceiling grid.
Step 6: Install the New Ceiling Tiles
With everything prepped, it’s time to install the replacement tiles.
- Place the New Tiles
Gently insert the tiles into the grid, ensuring they align with the surrounding tiles for a seamless appearance.
Step 7: Tidy Up Surrounding Areas
Repair any additional damage to nearby areas to ensure your ceiling looks as good as new.
- Fill Cracks or Gaps
Use a plaster or drywall filler to smooth out imperfections. - Sand and Paint
Once the filler is dry, sand it smooth, apply a stain-blocking primer, and repaint the area to match the ceiling.
Step 8: Take Steps to Prevent Future Damage
Prevention is always better than cure, so take steps to protect your ceiling from future problems.
- Inspect Regularly
Check your roof and plumbing for signs of wear and tear to catch potential issues early. - Seek Professional Help
For large or recurring problems, consult experts who specialise in water damage restoration.
Why Timely Repairs Matter
Ignoring water-damaged ceiling tiles can lead to bigger issues like mould growth, weakened insulation, or structural damage. Acting quickly not only restores your ceiling’s appearance but also helps protect your home’s value.
If you’re in Perth and need help, Perth Ceiling and Walls can assist with ceiling repairs in Perth for a hassle-free solution. Dealing with a water damage ceiling can be overwhelming, but replacing the affected tiles doesn’t have to be complicated.
If you’re unsure about tackling the repairs yourself, don’t hesitate to contact us for ceiling fixers in Perth for professional support. Taking swift action ensures your home stays safe, comfortable, and visually appealing for years to come.
Reviewed by
Aaron Kumar
Aaron Jefferson Kumar. The owner and operator of Perth Ceiling and Walls. With hands-on expertise in plasterboard ceiling and wall repairs and installations, Aaron takes pride in ensuring every project meets the highest standards of quality and craftsmanship. His direct involvement in both the business and the fieldwork positions him as a trusted person on all things related to ceiling and wall solutions.

